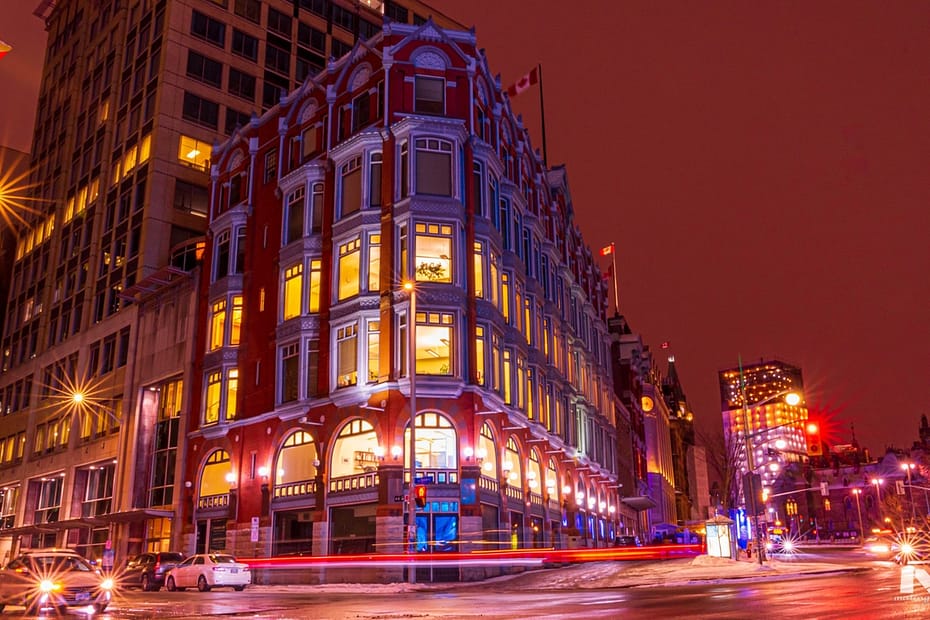
At the core of photography is light. The key to mastering the art of photography, therefore, lies in learning light and how to control it. Luckily, there are only three ways by which cameras control the intensity of light hitting the sensor or film. By understanding the three variables, known as the exposure triangle and their relationship, you will be able to control light but also to manipulate it.

The exposure triangle consists of; ISO (sensitivity), which works differently in film cameras, aperture (amount), and shutter speed (time). If you know and master these three variables, you will be on your way to taking correctly exposed pictures.
1-Film Speed/sensor sensitivity (ISO)
The first way to control light is by using ISO. ISO is part of the exposure triangle which controls how sensitive the sensor or film is to light. The best way to understand ISO is to think back to the days of film cameras. Back then, photographers had to use different films speed depending on the light conditions (film speed stood for sensitivity). For example, if shooting indoors with low light. They would use a roll of film that was very sensitive to light (fast speed) as opposed to shooting outdoors with lots of light where a less light-sensitive roll of film (slow speed) would be ideal.
Although there is no need to change a roll of film, in digital photography, ISO still applies. The sensitivity of the digital sensor can be adjusted to suit the light conditions. The sensor can be adjusted to be very sensitive to light. For example, when shooting in low light conditions or can be less sensitive when shooting outdoors.
ISO scale has not changed since the days of film cameras. The index, though, has expanded on both ends. In the film era, the base was around 200 ISO now ISO can go as low as 50 ISO in digital cameras. On the other hand, digital sensors can go past 6400 ISO, which was unheard of in days of film cameras. This increased range means that digital cameras can work in very low light situations without the need for speed lights.
It is crucial to understand how the ISO scale affects light intensity. Every step of the scale doubles the sensitivity of the sensor to light. So, for example, if you change your ISO from 100 to 200, you will make the sensor twice sensitive to light. Note that though the sensitivity of the sensor doubles, it is still one stop of light. In other words, one-stop of light is double the sensitivity of the sensor.
impact
Since light doubles with each stop, treat ISO with care, particularly when you are moving up the scale. The more you increase your ISO, the more you will run into the problem of noise in your image. It is advisable to try, where possible, to use the lowest (native) ISO setting of your camera for cleaner and sharper images.
2-Shutter speed
The second way to control light is by controlling the time you expose the sensor to light. When we trigger the camera to take a picture, all we are doing is opening the shutter to expose the sensor or film to light. Think of the shutter as a faucet. You control the amount of water you want by controlling the time you open and close your faucet. If you want more water, you leave the tap open longer before you close it.
The same principle applies to the shutter in your camera. Shutter speed is the faucet that controls the amount of water you need. When taking a picture, you open the shutter to expose the sensor or film to light. The duration of time you leave the shutter open, depending on the amount of light you need, is what we call shutter speed.
As with the example of the faucet above, how long you leave the shutter open depends on the amount of light that you need. For example, when shooting at night in low light, you will need to open the shutter longer to get as much light as possible. In broad daylight, on the other hand, you do not need to leave the shutter open for along time. The speed with which you open and close the shutter will determine the amount of light reaching your sensor hence your exposure.
You may have guessed by now that shutter speed is all about time. The unit for measuring shutter speed, therefore, is in seconds. Note that the duration of time the shutter can stay open can be as long as minutes or even hours. Most DSLRs these days have a BULB mode, which leaves the shutter open for as long as needed.
impact
It is imperative to pay very close attention to the available light when dealing with this aspect of the exposure triangle. Opening the shutter for a long time in bright light will risk an overexposed image. On the other hand, in a low light short shutter speed, my yield underexposed images. You, therefore, need to evaluate the light you are working with to determine how long you are going to keep your shutter open to get a properly exposed image. Luckily, you can use the auto mode or use a light meter, which will give an accurate shutter speed based on the available light.

Shutter speed has other critical effects on the image. One of them is controlling motion in the picture. If you use slow shutter speed, your camera will capture the movement of any moving object in your frame resulting in a blurred image. To void blurred images (unless it is your artistic vision), use fast shutter speed. It is, therefore, important to chose a fast enough shutter speed to freeze any motion in the picture.
Slow shutter speed can also affect the sharpness of the image, mainly if shooting handheld. If shooting, for example, stationary objects without a tripod, any small movement will register, causing the image to look unsharp. To address the problem, use a shutter speed of at least a 60th of a second. Another trick is to match the shutter speed to the focal length. For example at 200mm use a shutter speed of 1/200 of a second.
3-Aperture
The third away to control light and the final piece of the exposure triangle is to regulate the ‘gate’ through which light enters the camera. The gate or door that regulates the amount of light entering the camera is called the aperture. Light entering the camera goes through a hole in the lens. Depending on the amount of light that you need, you can open up the aperture or close it down. F-stop is the aperture scale, which indicates the size of the aperture. The F-stop scale ranges from wide-open F1.2 (at the time of writing f 0.7 Zeiss lens was available on the market) to close down F32.

Aperture scale can be confusing to beginners as the relation between the F-stop number, and the size of the lens opening is inverse. As the F-stop number gets bigger, the amount of light entering the lens decreases. A trick to remember the relationship between F-stop number and the size of the aperture (i.e., amount of light) is to regard the F-stop number as a fraction. F1.2 will, therefore, be 1/1.2, which is bigger than F32 (1/32).
impact
The effect of F-stop is nevertheless not just limited to the amount of light; it also affects the area that is in focus or what photographers call depth of field.
The reason for this effect is a little technical for our discussion; all you need to remember is that the more you open the lens (smaller F-number), the shallower the depth of field and vice versa. Landscape photographers, therefore, tend to use smaller F-stop numbers to have images that are sharp from front to back. On the other hand, to throw the background out of focus –bokeh– you would open the lens up. (click here to learn the physics of lens).
Final thought
The exposure triangle is the basis of photography. Mastering these three variables, their effect, and relationship will help you to make photographs that are properly exposed and aesthetically pleasing. Happy shooting.
- Adobe Firefly: Artificial Intelligence Revolution - April 4, 2023
- Why Lumina Neo Is Worth Buying - June 20, 2022
- Galaxy S22 Ultra: Camera Phone for Photographers - April 13, 2022

