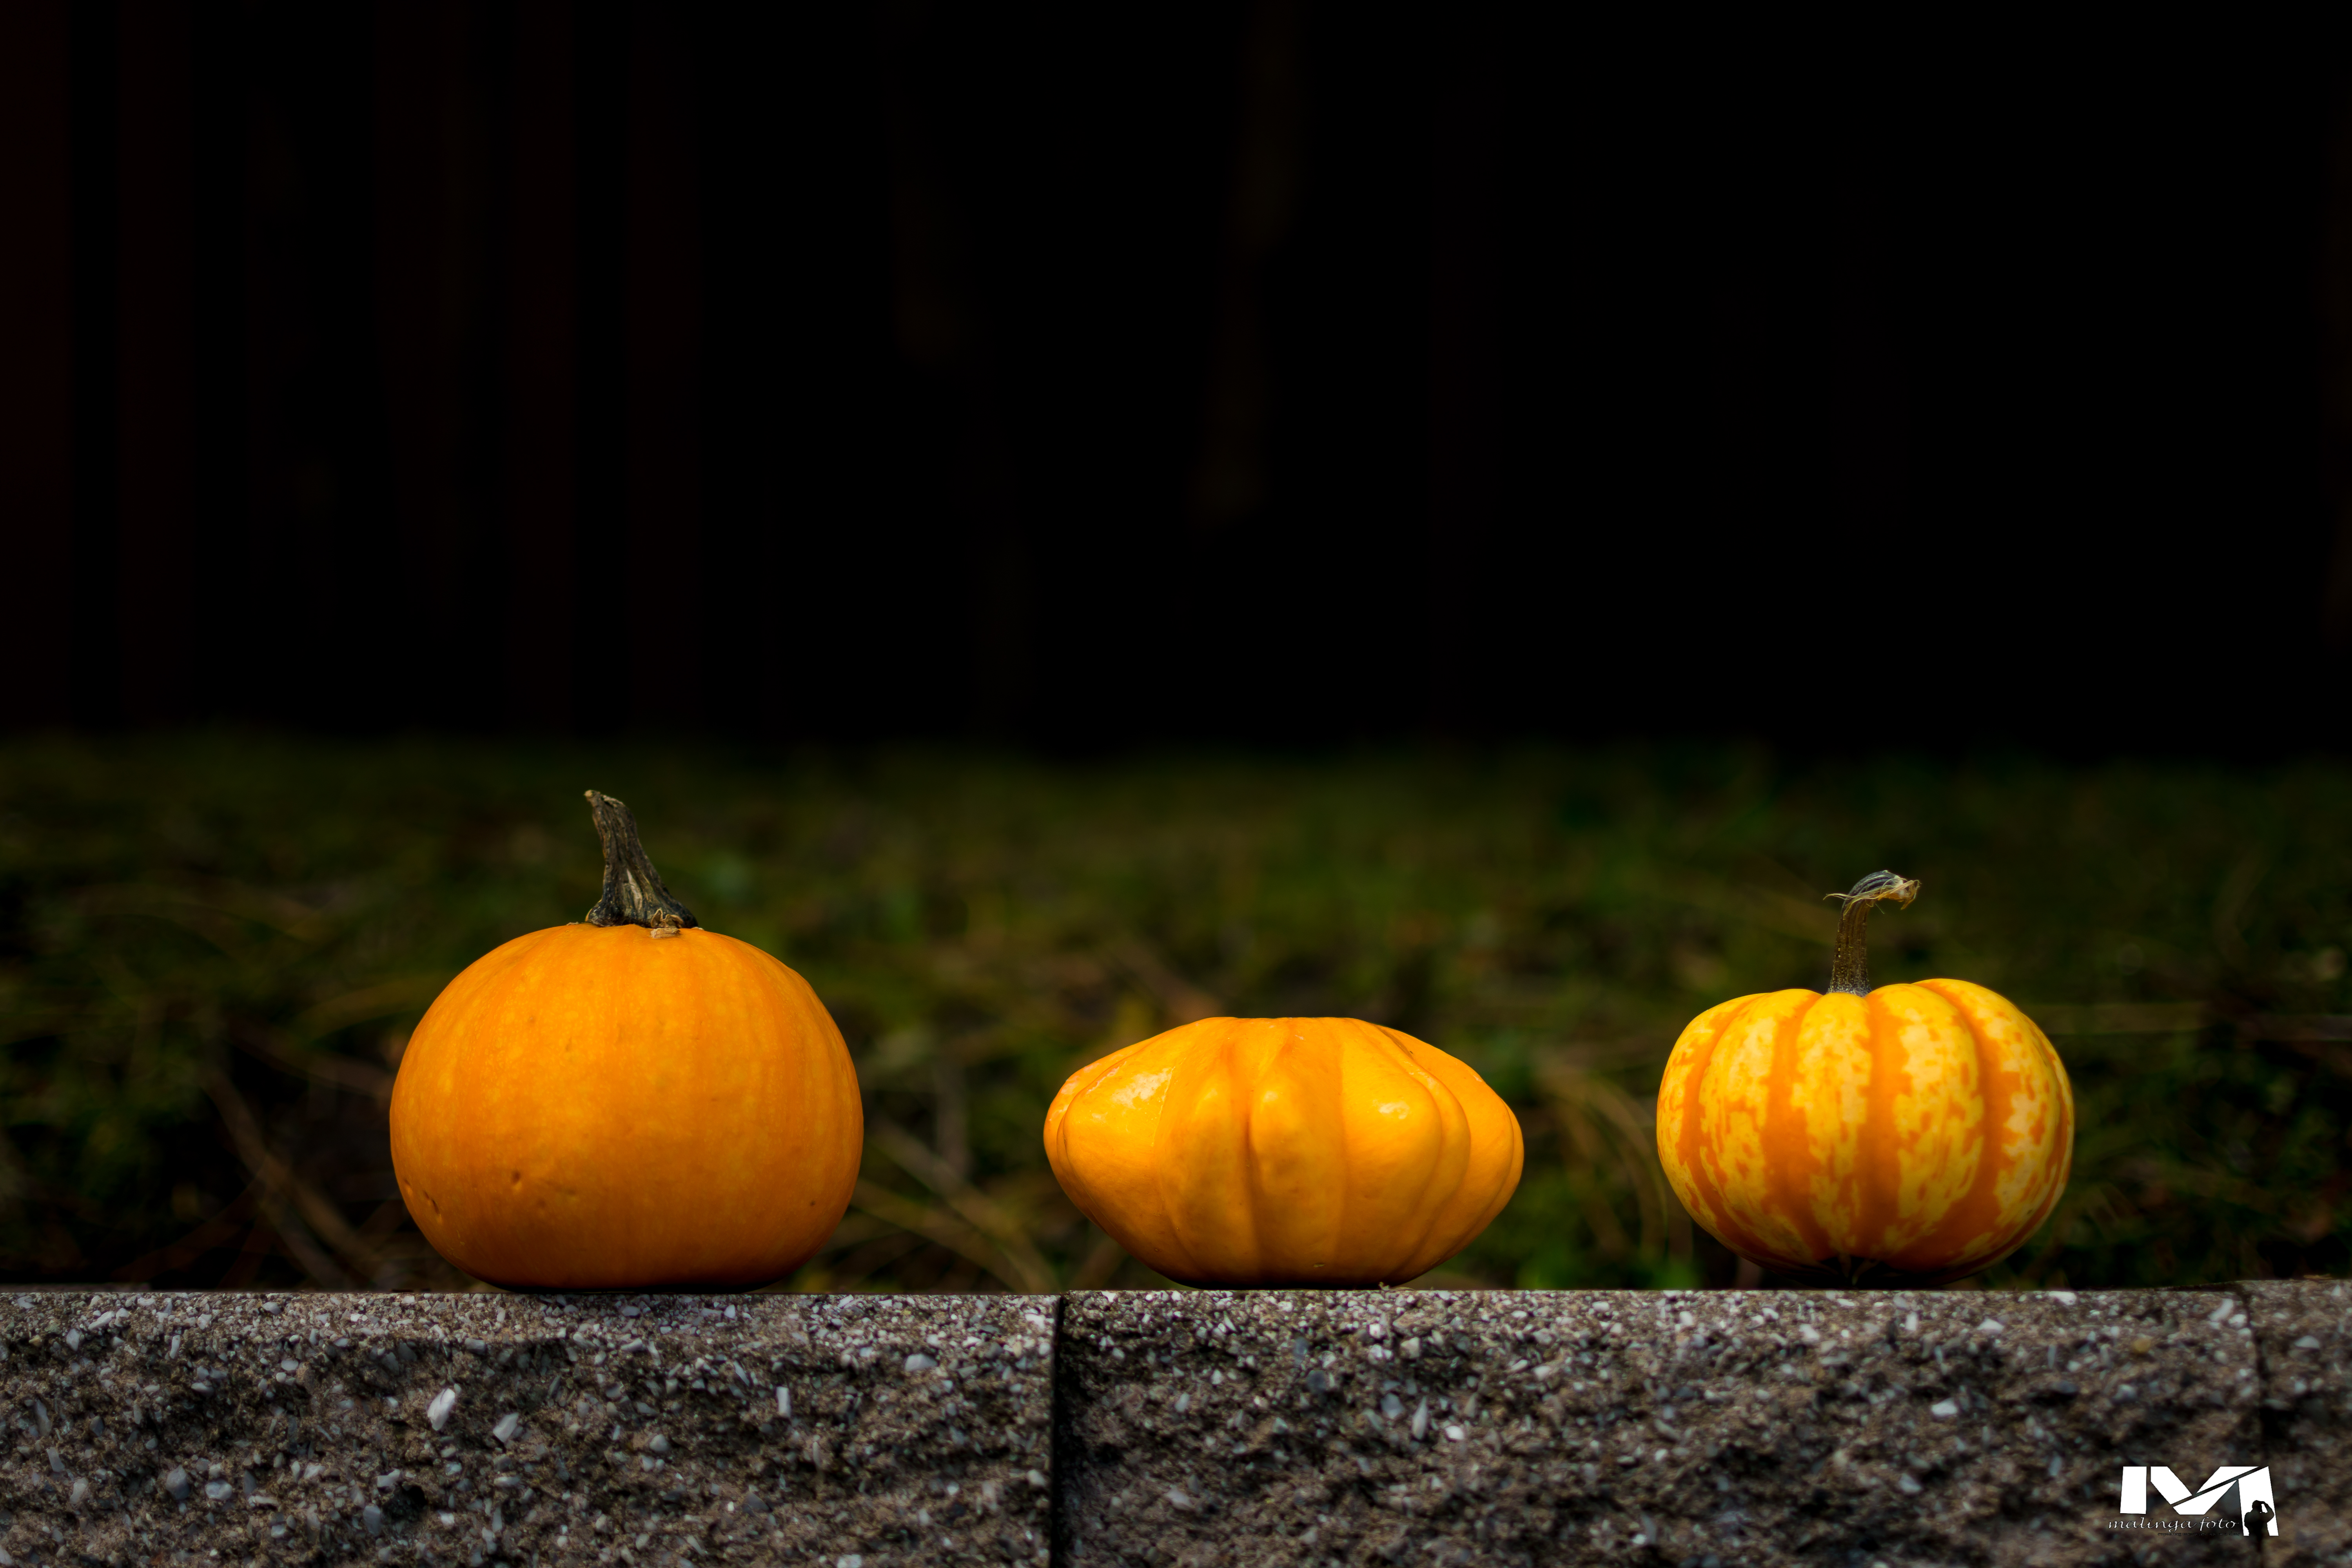
Has this ever happened to you? You go out to take pictures; you are happy and excited about what you have captured, but when you upload the images, they are not as good as you thought. That beautiful golden sunset is not as golden as you saw it. Your pictures have a weird color cast not present in the scene you photographed. Before you blame the camera manufacture for making a sub-standard camera, the chances are that your white balance is off; hence, you end up with colors that are off.

What is white balance (color balance)? White balance is a process of removing any color cast from neutral colors. In other words, color balance is the process of neutralizing colors to there pure form. Unlike our eyes, cameras cannot adjust the colors in the scene. For example, white will be perceived as white by the eye regardless of the light in which we are viewing that white.
Camera sensors, on the other hand, do not possess this ability. When they see white indoor, it will have a color cast to it depending on the light used whether its fluorescent or incandescent; hence, the resulting image will have a color cast. To get accurate colors, therefore, you need to tell your camera what white is regardless of the color cast. In other words, the camera will neutralize the color cast to bring back white to its pure form. There are several methods you can use to white balance your camera.

White Balance Presets
First, you can use the built-in white balance presets. Most cameras come with various white balance settings for general situations. For example, there is a white balance setting for shade, cloudy sky, fluorescent light, and so. These preset will automatically adjust the colors in the image so that white will appear white. Your task as the photographer is to determine which light condition best suit, which preset. For example, when shooting under tungsten light the preset of choice will be tungsten. This preset will remove the yellow tint associated with tungsten light. If you don’t want to fumble through the presets, you can let the camera do all the work by setting your white balance to auto.
Reference image
In case the presets do not cut it, there is another way to get neutral white. The second method involves taking a reference picture. To set white balance this way, you first have to set the camera to the so-called white card setting (check your camera manual how to activate this mode). Once you have set your camera, you can now take a reference picture; part of the scene you want the camera to neutralize to white. The camera will indicate if it has successfully set white balance. For more accurate white balance take a picture of a white card in the light conditions that you will be shooting your photos.
Post Production Software
The third way to white balance your images is to use post-production software. Most post-production software, such as Adobe Lightroom (to learn more about Lightroom click here) have a tool that will get you to a neutral white point. With this tool activated, within your software, pick a spot within the image which the software will use to set a neutral white point. In postproduction software you can find most of the presets found in the camera. This also includes auto white balance to let the software automatically set the proper white balance.
This method can end up with inaccurate colors if the point you choose is not a neutral grey or a neutral color. The way to get accurate white balance with this method is to use a color checker box.
Colour Checker Chart
What is a color checker chart? A color checker chart is a piece of material with a series of square color patches. The colors in a color checker chart include RGB colors, skin tone colors, and standard colors of nature. A color checker chart may also include a white card for color balance and or a grey card for exposure setting.
To use a color checker box, take a picture of the color table in the same light conditions that you are taking your photographs. Upload the checker box image to your computer together with the photos you took in that light condition. Using the white balancing tool in your post-production software, click on the white patch to get a neutral white point. Once you have a neutral white point, you can sync all the other photos you took with this white point value.
Some of these color checker boxes come with software which reads the color checker box and creates a preset based on the reading. You can, therefore, click on the preset to get to accurate colors based on the lighting situation you had.
There are so many companies that make color checker boxes, but the most reliable ones are Xrite ColorChecker Passport and Datacolor Sydercheckr. Using a color checker box is by far the best method to color balance your images.
- Creating Stunning Photographs with Moving Light - February 15, 2024
- Artificial Intelligence And Photography - September 18, 2023
- Exciting October Lightroom Update - September 28, 2021


