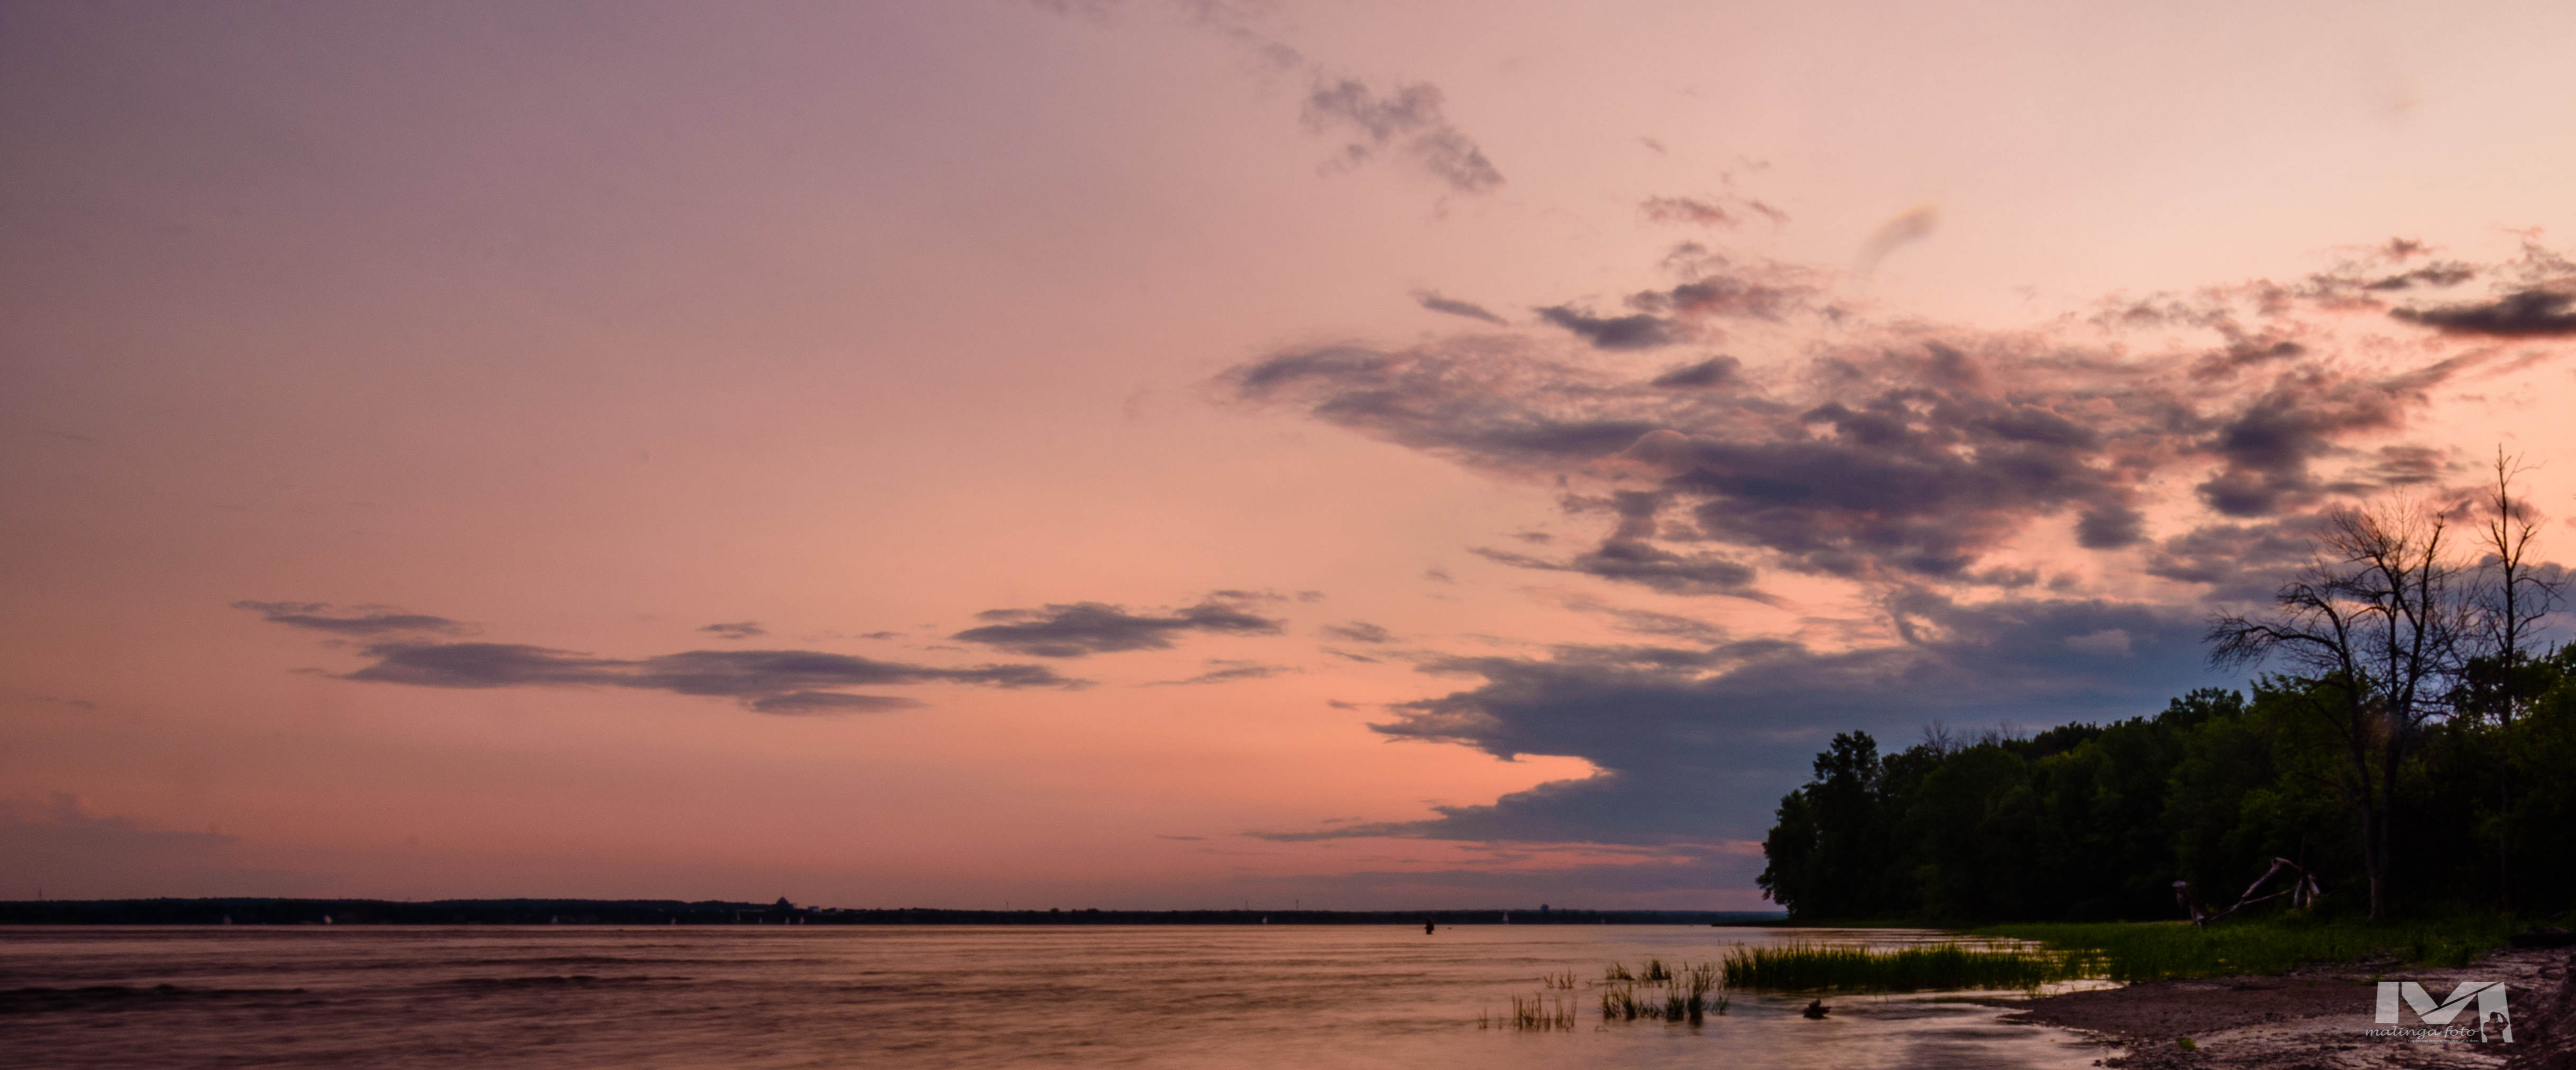
Ever tried to replace a dull sky in Photoshop? Making a selection and masking can be time-consuming and may yield less favourable results. In the video below, Terry White, Adobe’s worldwide evangelist, reveals a powerful yet straightforward sky replacement method.
Most methods of replacing the sky in Photoshop require multiple tools to select and mask parts of this image. These sky replacement methods can not only be tricky but can also be time-consuming. This tip takes the complexity of making selections and masks out of the way, and it yields results as good as or even better than other methods. I have tried this method several times, and it has proved to be simple and a time saver.

The tip involves using Photoshop blend if sliders found under blending options. You can access blending options by right-clicking on the layer and selecting blending options in the pop-up menu. This will open the layer style dialogue box. You will find blend if at the very bottom of the middle column. All you need to do is to add the replacement sky to your image and place it in position. Then you move the blend if sliders to blend the replacement sky into your photo.
Blend-if is a simple and efficient tool that will make replacing skies in Photoshop a breeze. It will save you the hassle and time of selecting and masking involved with other sky replacement methods in Photoshop. Check out the video below to see Terry White explain and use blend-if blending option in Photoshop. If you have time, check out the rest of the video for more tidbits of information on using Photoshop. Terry White talks particularly to photographers who are only using Lightroom why they should consider using Photoshop as well. Photoshop offers more tools, so there is a lot to do with your images in Photoshop.
- The Ultimate Guide to Culling Photos Fast - March 4, 2026
- How to Land Your Dream Photography Job - December 29, 2024
- The Ultimate Photography Portfolio Websites - September 6, 2024


